Saturday, 26 December 2015
Various stainless parts
It is one of the domed gearbox nuts.
Cylinders & Pistons
A few progress photos..
Wednesday, 2 December 2015
More Electrics
The Dynamo in now on the list and it has taken me a while to get to ordering the new armature. This was ordered as a kit with armature, bearing and field coil. with a trial fit, it was impossible to get the armature past the coil, so I used a couple of engineers clamps and tightened up the pole shoe against the case so that I could really tighten the screw and make sure the armature would pass past the shoe.
This technique worked a treat! I did have to drill out the middle fixing hole - the one that has a captive bolt and connects to the timing chain cover.
Apart from that, all the castings for the dynamo have been vapour blasted and I can now assemble with the new parts. With new main bearing, it spins freely.
Friday, 16 October 2015
Some photos of the current work in progress!
Sunday, 25 August 2013
Forks on!
task but the forks are now installed. It started with re-spraying the cowls
as there was a dent in each that I wanted to remove. Then I discovered the
station sliders were threaded at the bottom ends and the bolts had a
shoulder that need to pass through this 'thread'. The securing nut on one
fork - the one that secures the lower bronze bush - was not threaded
correctly but fortunately I had a spare. The drain plug holes were
completely gummed up and the bores had a very difficult to remove sediment
in the bottom (I used carb cleaner to loosen the rubbish). All in all it
probably took me the best part of a day to sort out all of these issues
(whilst trying to sort out the engine cranks....)
Friday, 23 August 2013
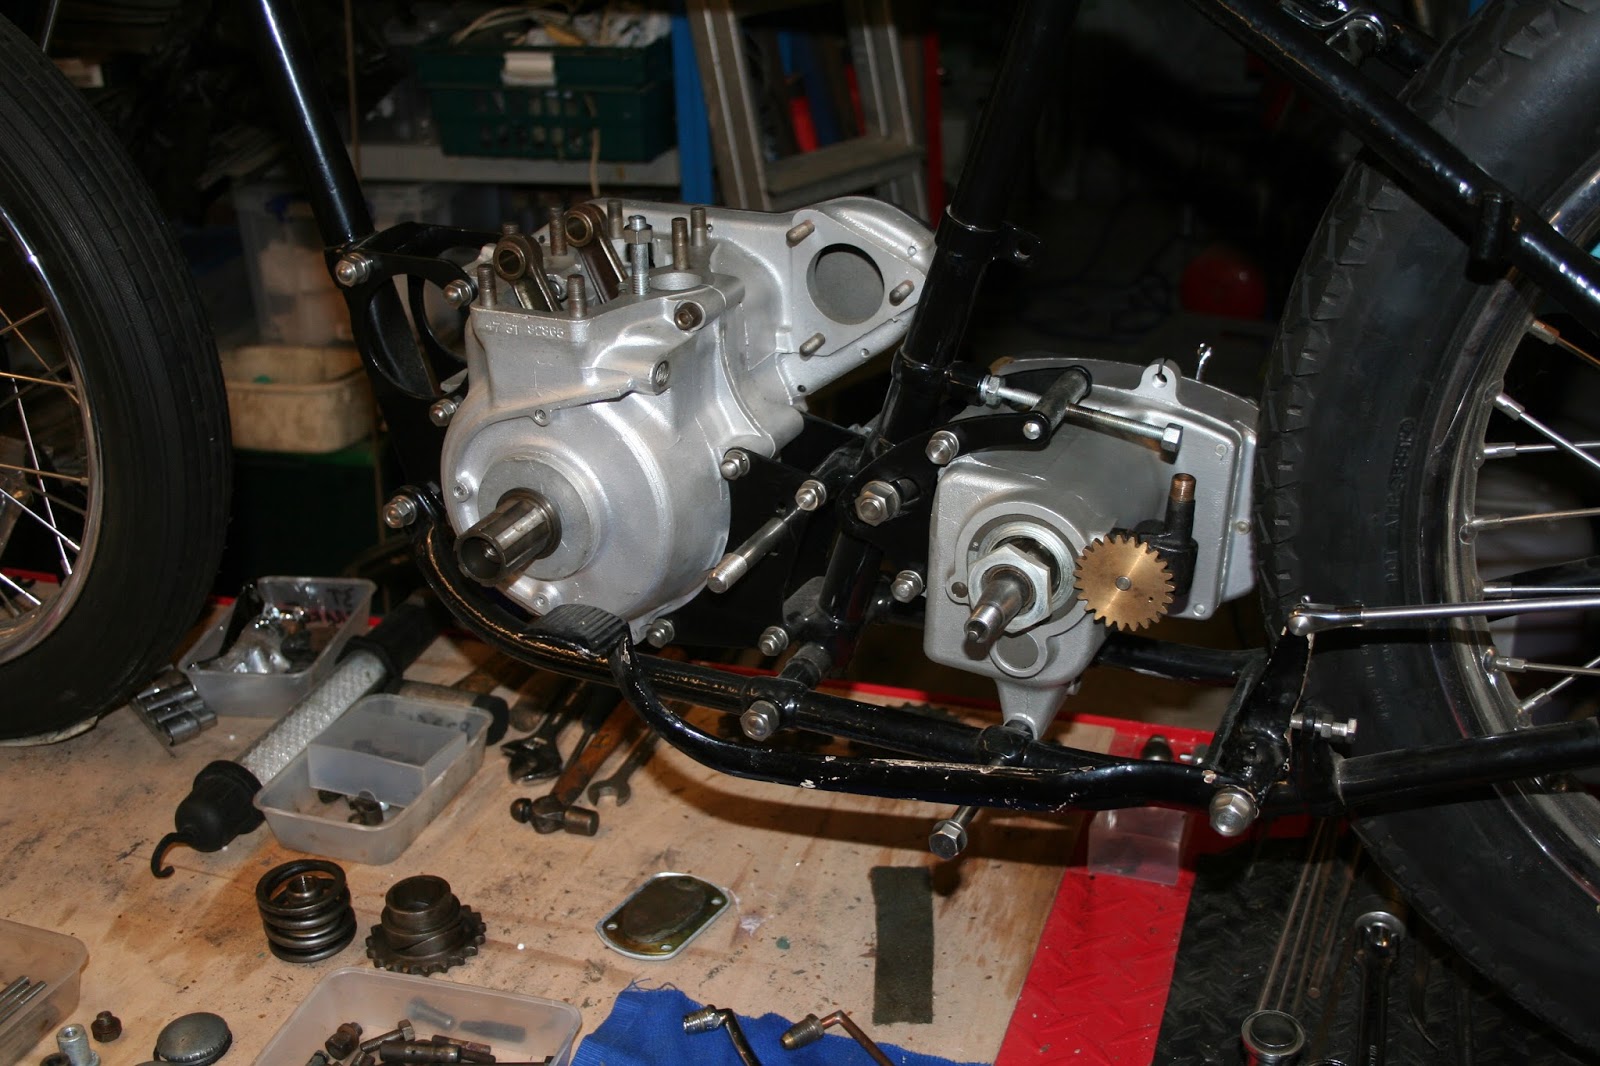
Engine bits!
I never realised how complex it could become when I decided to rebuild the crank part of the engine on the 3T.
I must have around 6 engines and all mostly dismantled. Together with spares and suchlike, collected over the years, I have many cranks, rods and flywheels. So you you would think it a simple matter selecting the better components, fitting together and then voila, the bottom end is complete. If only! Most of the parts are of differing diameters and were either ordered as oversize options or have been machined to take up wear! The first engine has ended up with new old stock cranks and rods fitted to a matching flywheel. The second will have the same and the third will have refurbished cranks/rods with new white metal bearings etc. I would have used the flywheel assembly for the first engine but it was kindly pointed out to me that the assembly may not have ever been balanced. Once assembled I may end up getting the flywheel balanced.
So, the engine (lower end) should be together this weekend and I will post a celebratory photo!