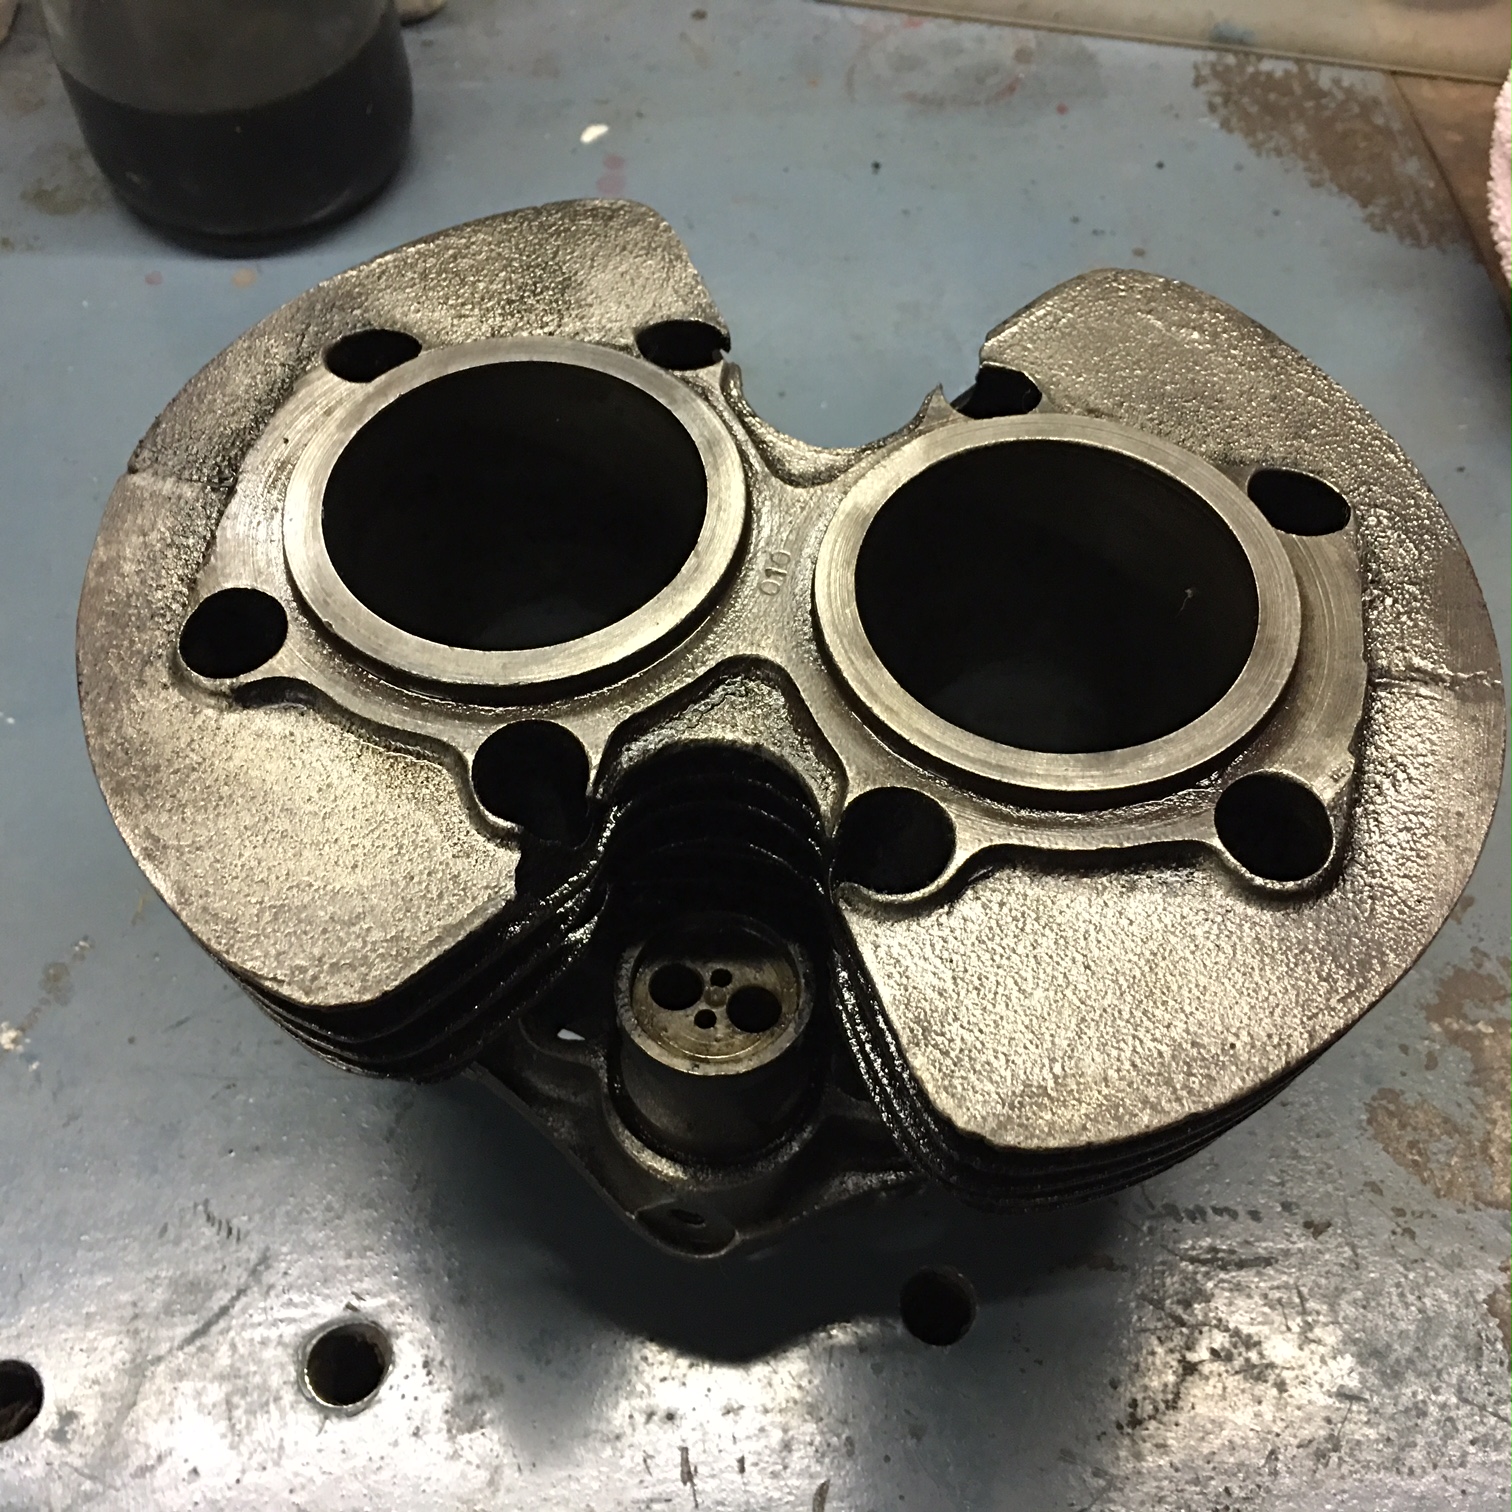
For convenience, I decided to choose the +10 barrels and pistons. These barrels were not worn and so I decided to hone them, and fit new +10 rings to the existing pistons.

You can probsably just make out the 010 on the upper face of the barrels - signifying that they are +0.010" oversize


The piston rings were fitted to the pistons and then the pistons fitted to the con rods. Nothing very difficult there! The cam followers were held in place with tie-wraps and the piston rings compressed down to enable fitting into the barrels using jubilee clips.
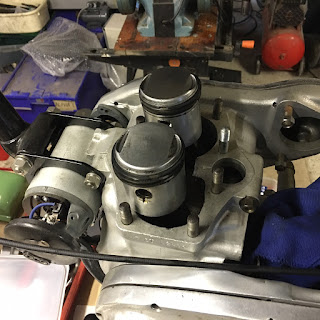
You will spot that in the above photo the casings have studs for the barrel and below they have changed to bolts. I forgot to check for this as I was selcting barrels and I also wanted to use the re-plated bolts.

The studs were removed and the bolts tested for fit in the casings. The barrels were then sprayed with spherex high temp paint (see head below) and fitted to the casings.

Next, a few trial fits of the head and working out how the engine stay fits to the head.


I had new valves to fit and the rockers, arms, spring spacers and wahsers were all cleaned up. The valves were lapped in and I even tried blowing down an exhaust outlet to test the fit - air tight with no springs! The only problem was that when I tried to fit the rockers, the inles valve seemed wrong. It transpired they were about 5mm tool long!! So I managed to seach through the boxes of bits and find two decent inet valves. New springs were fitted and all seemed OK fitted together.

It is quite fiddly fitting the rocker shafts with all the various washers etc but if you push the rocker gradually through and use tweezers to locate the various washers at the various stages then it all fits OK.
The head was then degreased, most of the rust removed and then masked up ready to be sprayed with spherex high temp paint.

Fitting the head was not so easy.....